Install SiriProxy
Project description
This tutorial is intended to be a primer and show newer users(of linux) how to install Ubuntu and set it up as a SiriProxy server running on a Virtual Machine on Windows 7. The most difficult part for new users of linux will be the shortcut keys and the use of terminal to get everything running, while this maybe daunting at first, we hope our instructions will help you get use to these tools and allow you to grow your skill sets!
Lets Get Started
Its not too bad and the newer version are even easy to install, there are even pre fab distros for Raspberry Pis!
Here are the basic materials needed for this tutorial.
- VBox or VMPlayer – These are Virtual Machine packages which allows us to configure a hardware setup and install an OS to it in this case linux over win7. In this instance I had a spare SSD which I decided to install the VM and linux on.
- Ubuntu – I suppose you can use which ever variant (including OSX) you wish, I choose Ubuntu as the defacto linux distro. Also in this video the creator of SiriProxy, Plamoni uses it as well. download the iso and save it somewhere, we will point the VM software to it.
- We will install various components while in Ubuntu through the command line.
Install VM
The first step is to install a virtual machine package, if you are already running Linux or OSX you can skip this step
This is a basic step simply pick where you want the VM software, and later where your actual Ubuntu vm will reside. You can use either VBox or VMPlayer, we used VMPlayer as it we already had used this. We did notice that out of the box Bluetooth was enable on VMPlayer which is handy especially if you want Siri to talk to an Arduino through Xbee or Bluetooth. Once the VM is installed then its a matter of setting up the VM and letting it install Ubuntu.
Install SiriProxy
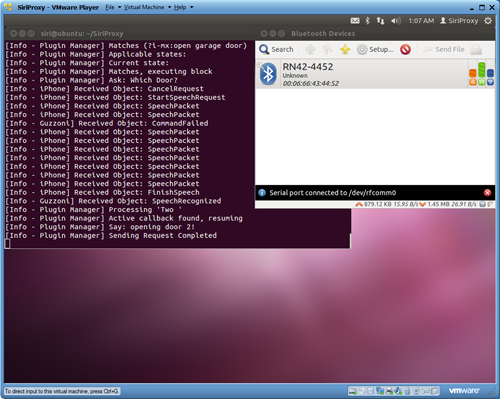
The whole point of this tutorial lets get on with it
NEW Instructions for 0.5.0
Note that the installation instructions have changed. It’s no longer necessary to install dnsmasq. Also, SiriProxy is available via rubygems for easy installation.
Set up RVM and Ruby 2.0.0
If you don’t already have Ruby 2.0.0 (or at least 1.9.3) installed through RVM, please do so in order to make sure you can follow the steps later. Experts can ignore this. If you’re unsure, follow these directions carefully:
- Install pre-requisites. Veries by system. For a fresh Ubuntu 12.10 install, these seem to be good:
sudo apt-get install libxslt1.1 libxslt-dev xvfb build-essential git-core curl libyaml-dev libssl-dev
- Download and install RVM (if you don’t have it already):
- Download/install RVM:
curl -L https://get.rvm.io | bash -s stable --ruby
- Update .bashrc:
echo '[[ -s "$HOME/.rvm/scripts/rvm" ]] && source "$HOME/.rvm/scripts/rvm"' >> ~/.bashrc</code><code>echo 'export PATH=$HOME/.rvm/bin:$PATH' >> ~/.bashrc
- Activate changes:
. ~/.bashrc
- Download/install RVM:
- Install Ruby 2.0.0 (if you don’t have it already):
rvm install 2.0.0
- Set RVM to use/default to 2.0.0:
rvm use 2.0.0 --default
Set up SiriProxy
- Install SiriProxy Gem
gem install siriproxy
- Create
~/.siriproxy
directory
mkdir ~/.siriproxy
- Generate Certificates
siriproxy gencerts
- Transfer certificate to your phone (it will be located at
~/.siriproxy/ca.pem
, email it to your phone)
- Start SiriProxy (
XXX.XXX.XXX.XXX
should be replaced with your server’s IP address, e.g.
192.168.1.100
),
nobody
can be replaced with any un-privileged user.
rvmsudo siriproxy server -d XXX.XXX.XXX.XXX -u nobody
- Tell your phone to use your SiriProxy server as its DNS server (under your Wifi settings)
- Test that the server is running by saying “Test Siri Proxy” to your phone.